Stock Taking
Access by clicking Stock Take in the side bar.
Overview
Whenever a change is made to any tray, these changes are immediately synced with the server, and so you can have multiple users taking stock and these changes will be reflected accross all devices that are active.
You can choose to take stock whenever you want, if you wish to only count a single bay you can do so.
There will be a loading screen, it will only take about half a minute depending on your internet connection. Please be patient as the whole database is being pulled, this will help you save time while counting.
Navigating the warehouse
- Start by selecting the zone you are taking stock in.
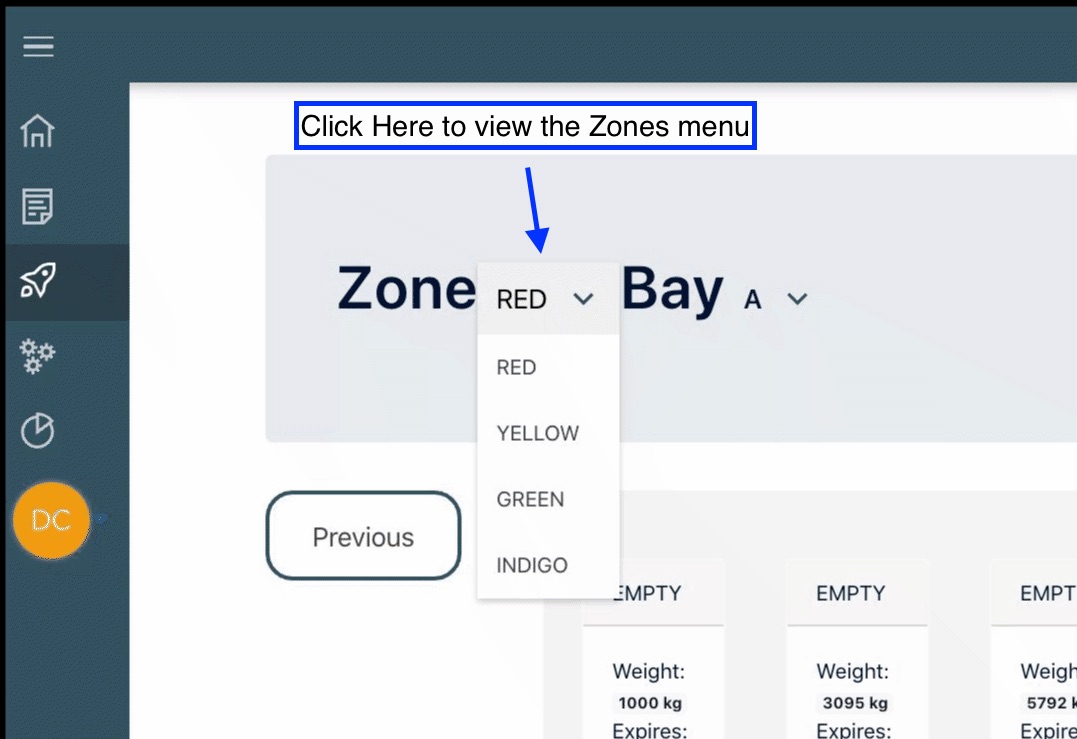
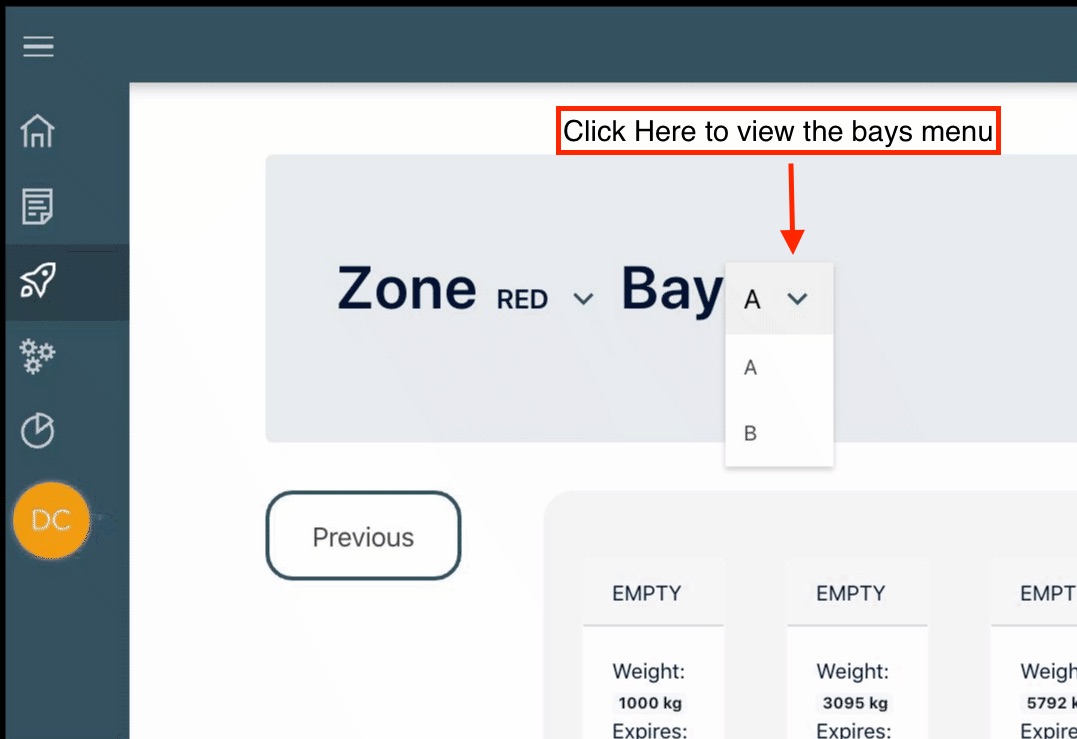
- The default bay will be the one added first when designing the warehouse.
- You can define your ideal tour through a zone when building your warehouse.
- This will help you rely on the next and previous buttons, to save time.
- You can navigate between bays by clicking the next and previous buttons .
Selecting trays
A single left click on the desired tray, will high light it in blue, indicating it's selection. Deselection is just as easy, just click again to deselect it.
If you wish to select all the trays in the bay, you may click the Select All button.
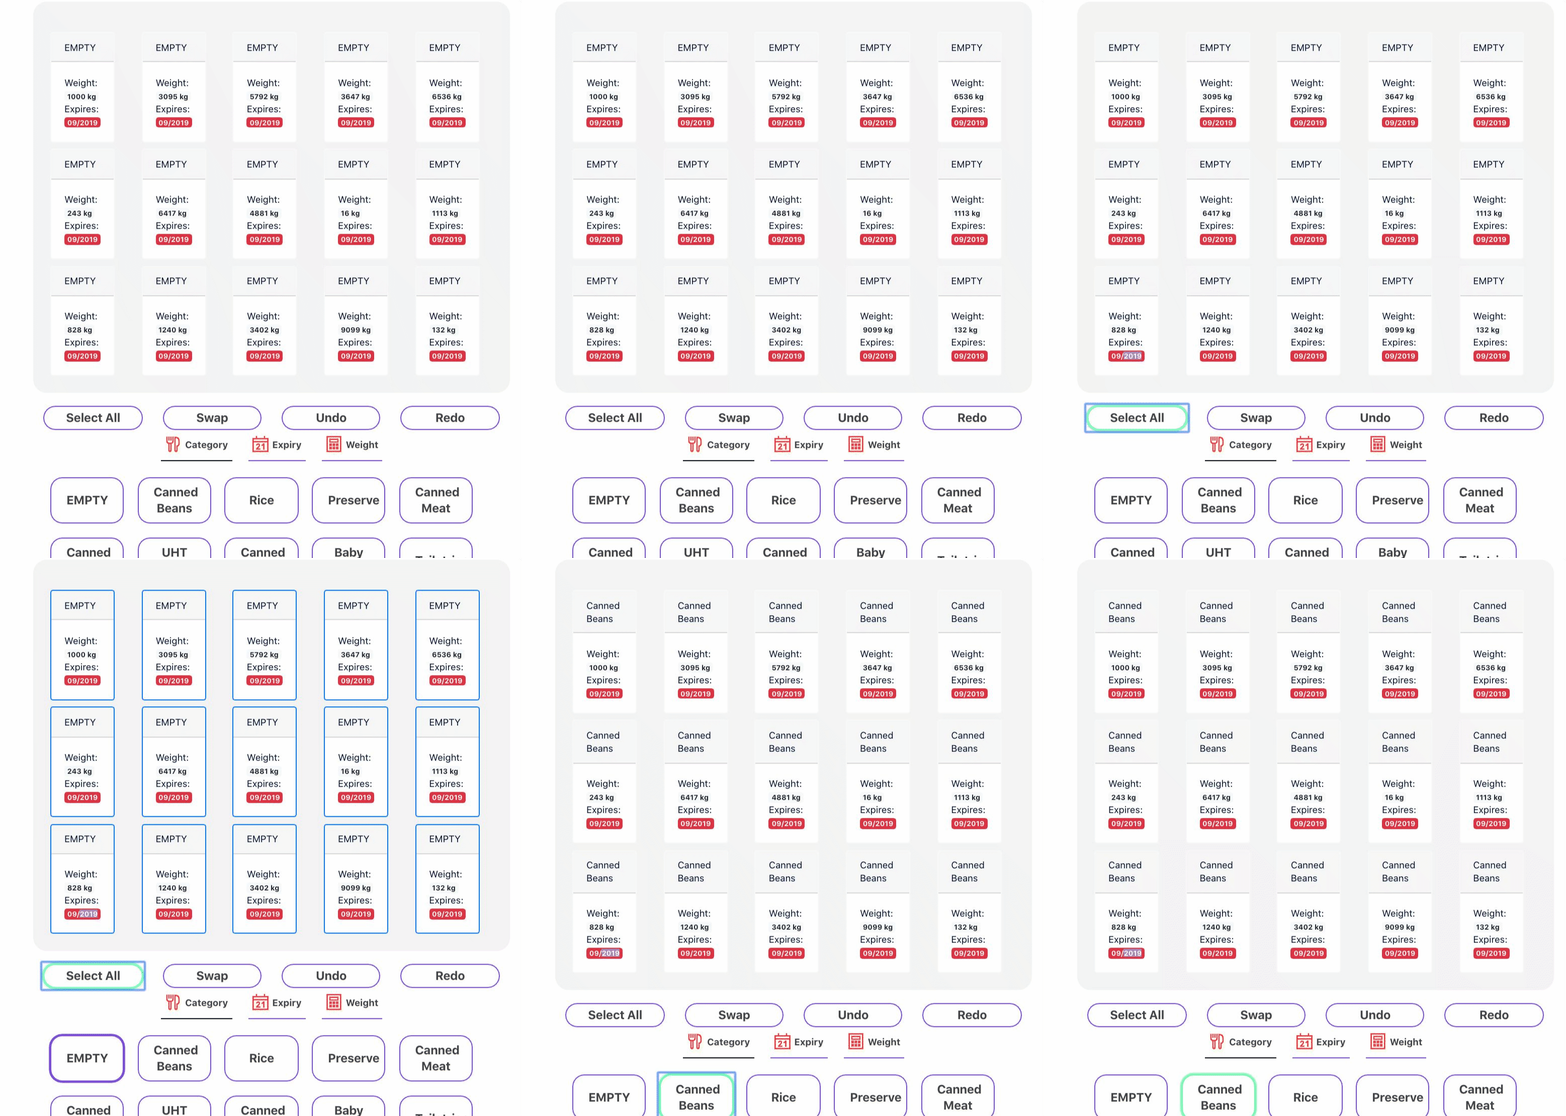 note: once a modification occurs on any selected tray it is automatically de-selected; this again is meant to save you time.
Swapping two trays within a bay
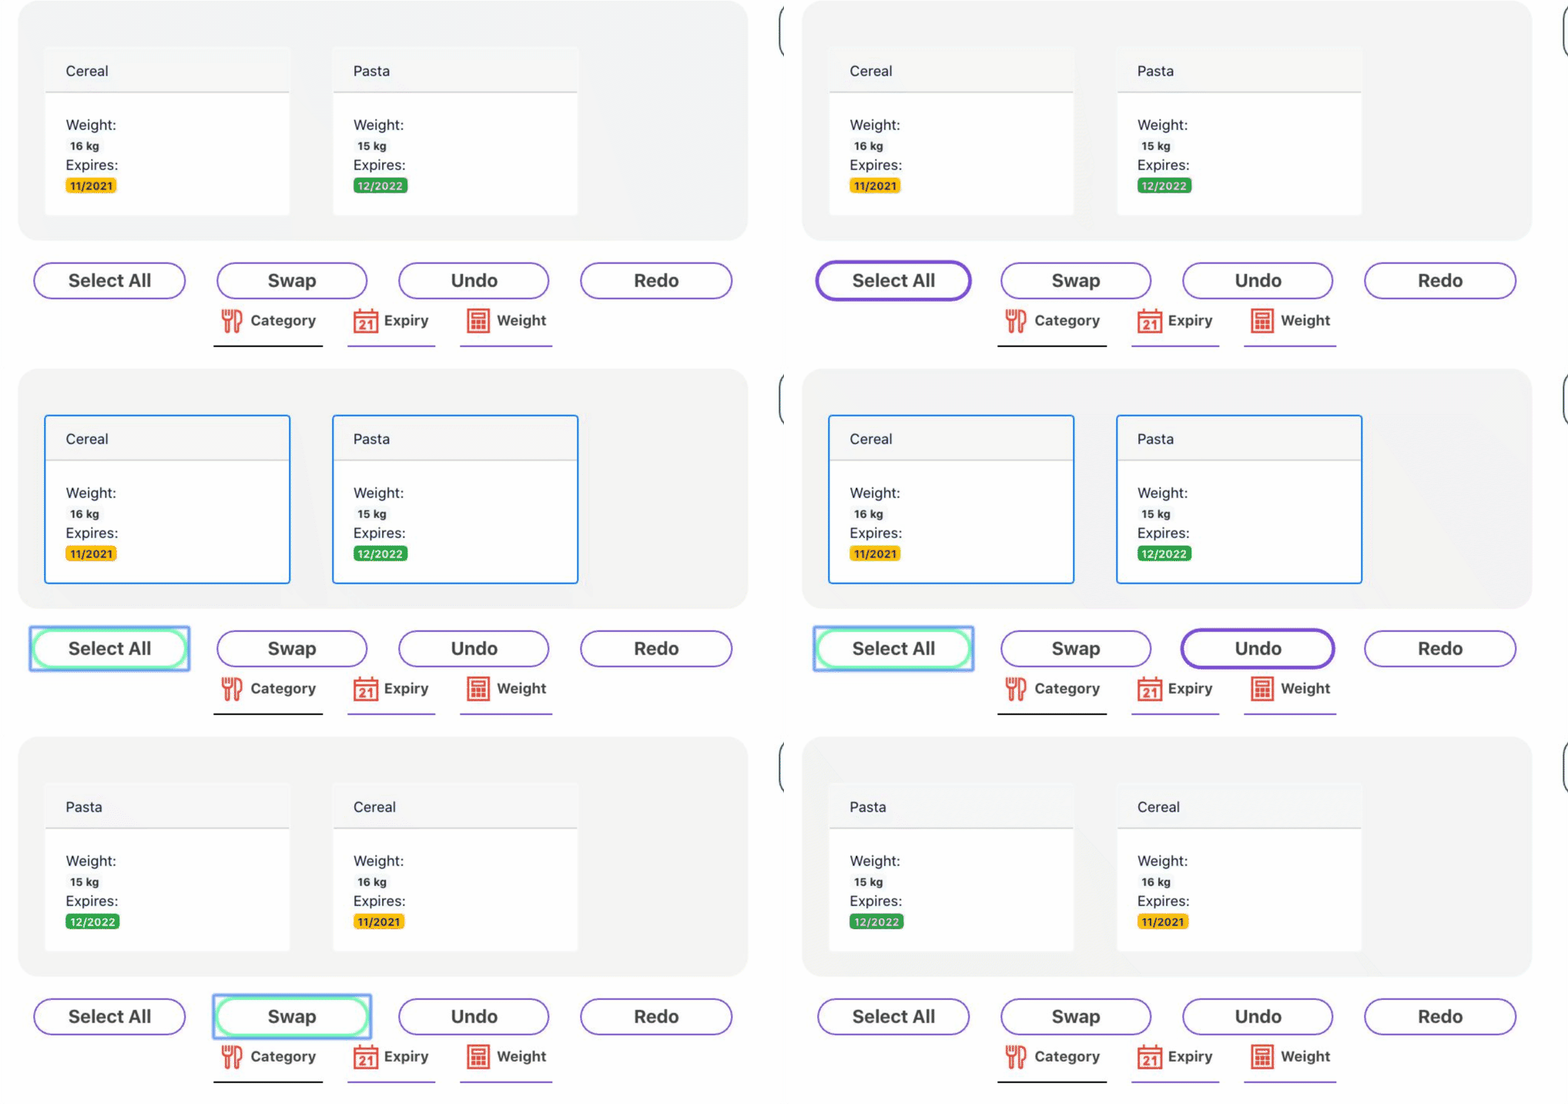
You may only swap if you only have two trays selected. Clicking this will swap the contents of the two trays, their expiry dates and their weights.
Note: you can only do this for trays within a given bay. The backend supports cross bay/zone swaps and moves however due to time limitations in the project it self, these features were ommited as they were too unstable to implement in the front end.
Modifying contents of selected trays
Once the trays to be modified are selected, navigate to the category tab in the bottom half of the interface. Then you can:
- Choose a
EMPTYto consider this tray as an empty, however you may still have weight and expiry attributes as requested by the client. - Choose a category that you have chosen before by any of the quick toggle category buttons.
- Manually type in a category and click set.
- node: you will not immediately see this custom category show up in your quick toggle categories, you will need to refresh the page to do so; however
EMPTYwill always be in the quick toggles.
- node: you will not immediately see this custom category show up in your quick toggle categories, you will need to refresh the page to do so; however
Modifying expiry date of selected trays
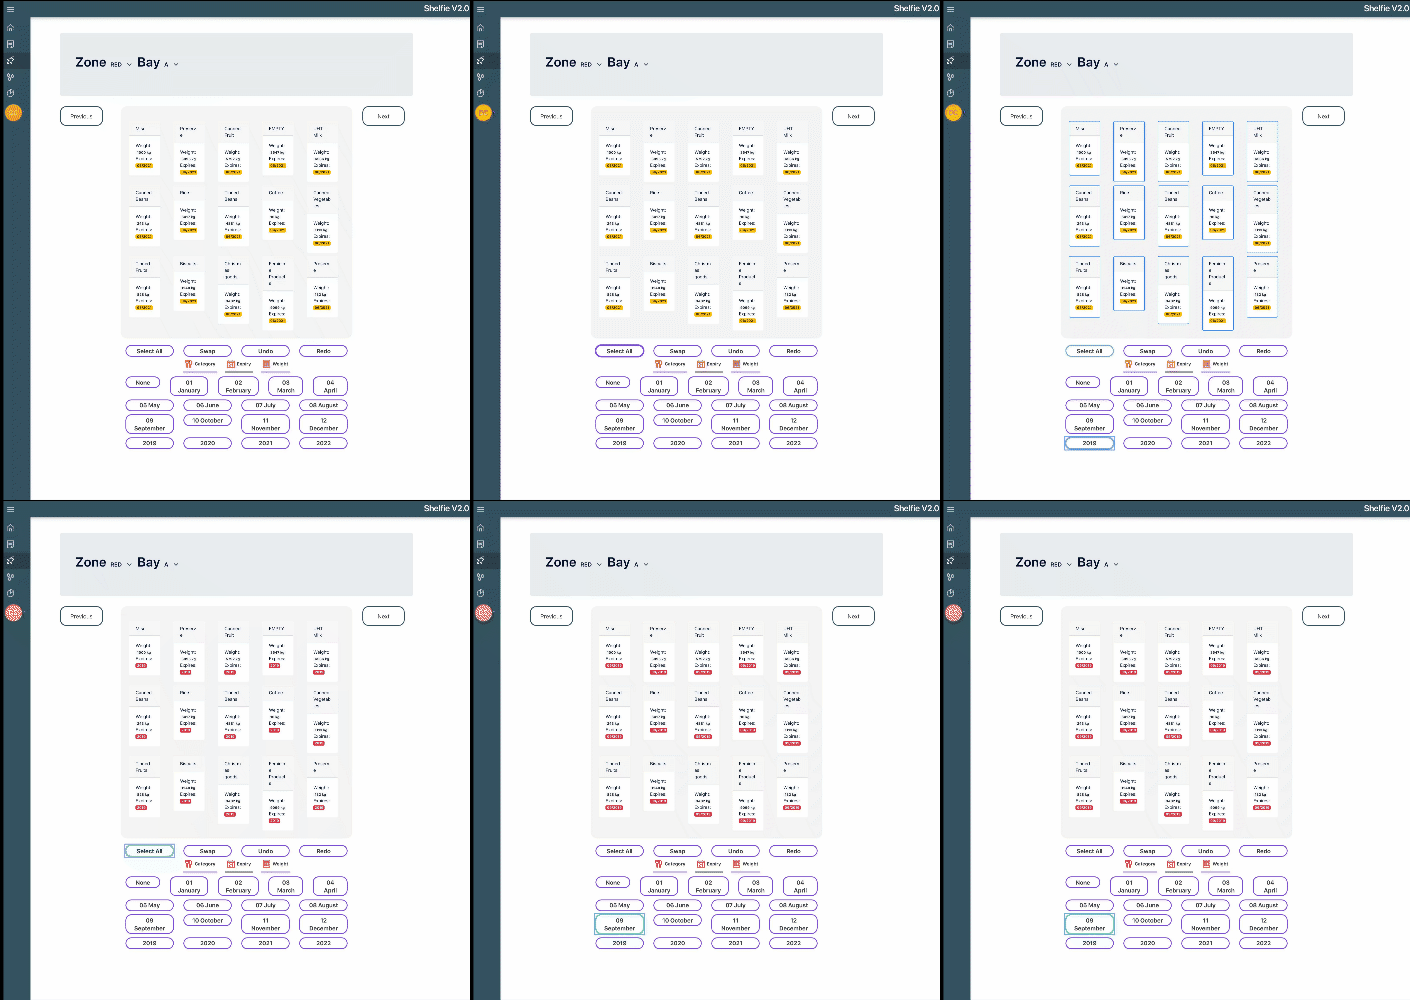
Choose your selected trays, navigate to the expiry tab in the interface and then:
- Choose
Noneto give no expiry date, - to give only a month as an expiry date, select
Nonefollowed by a desired month. - To choose an expiry year simply give a desired year,
* immediately followed by a month to give an expiry date in the MM/YYYY format.
Modifying Weight of selected trays
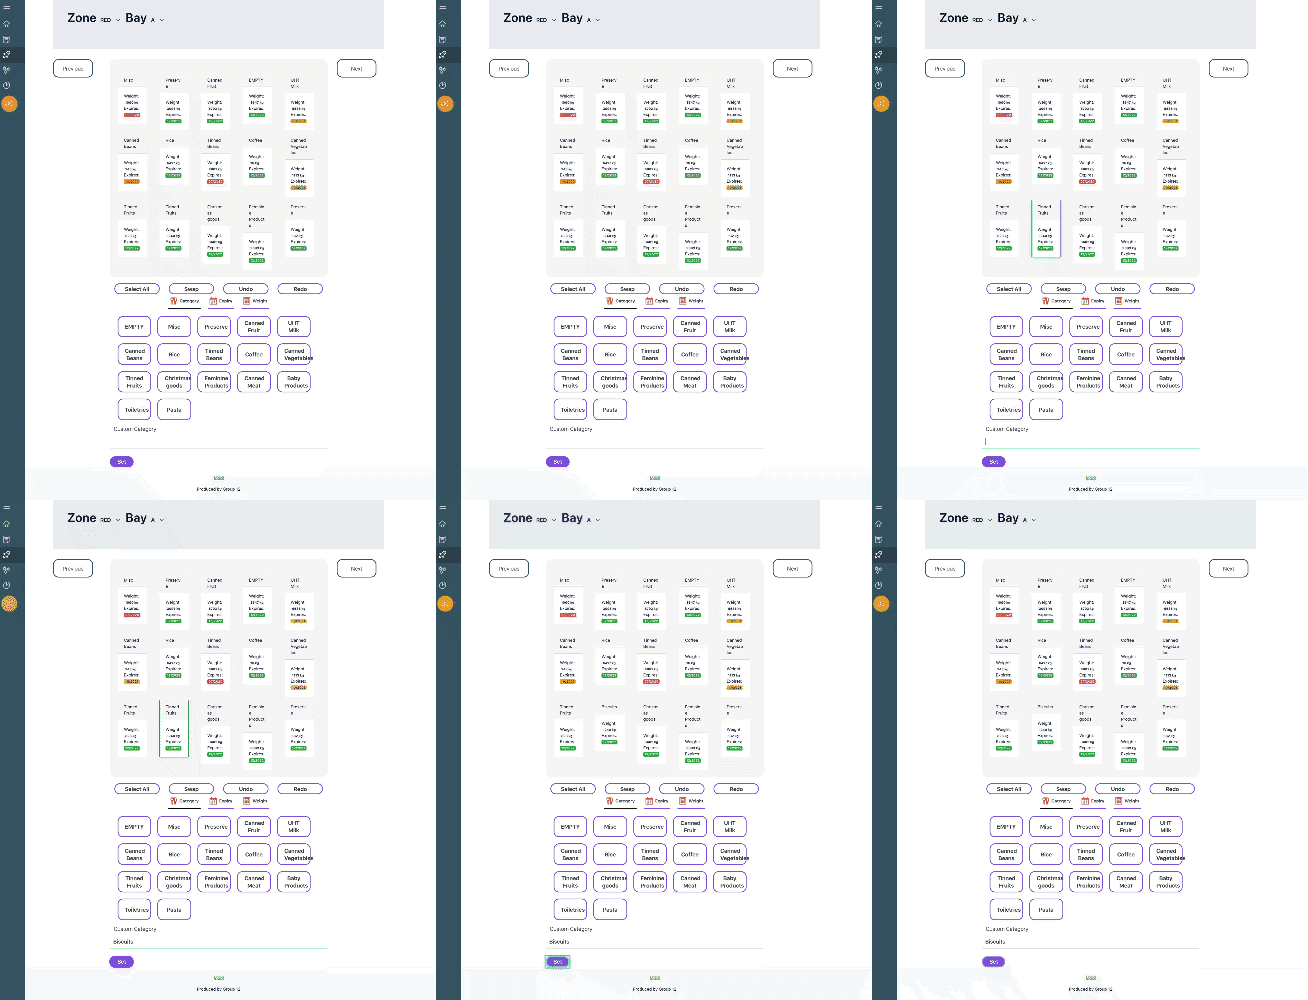
Choose your selected trays, navigate to the Weight tab in the interface and then:
- Simply type the desired weight as a number, with or without a decimal, and click update.
- or Click
Noneto give a tray no weight.
Undo/Redo
You can undo the changes you just made in any zone/bay by clicking undo, and continue to redo. changes are saved locally and made on the server if you choose to undo changes that were made.